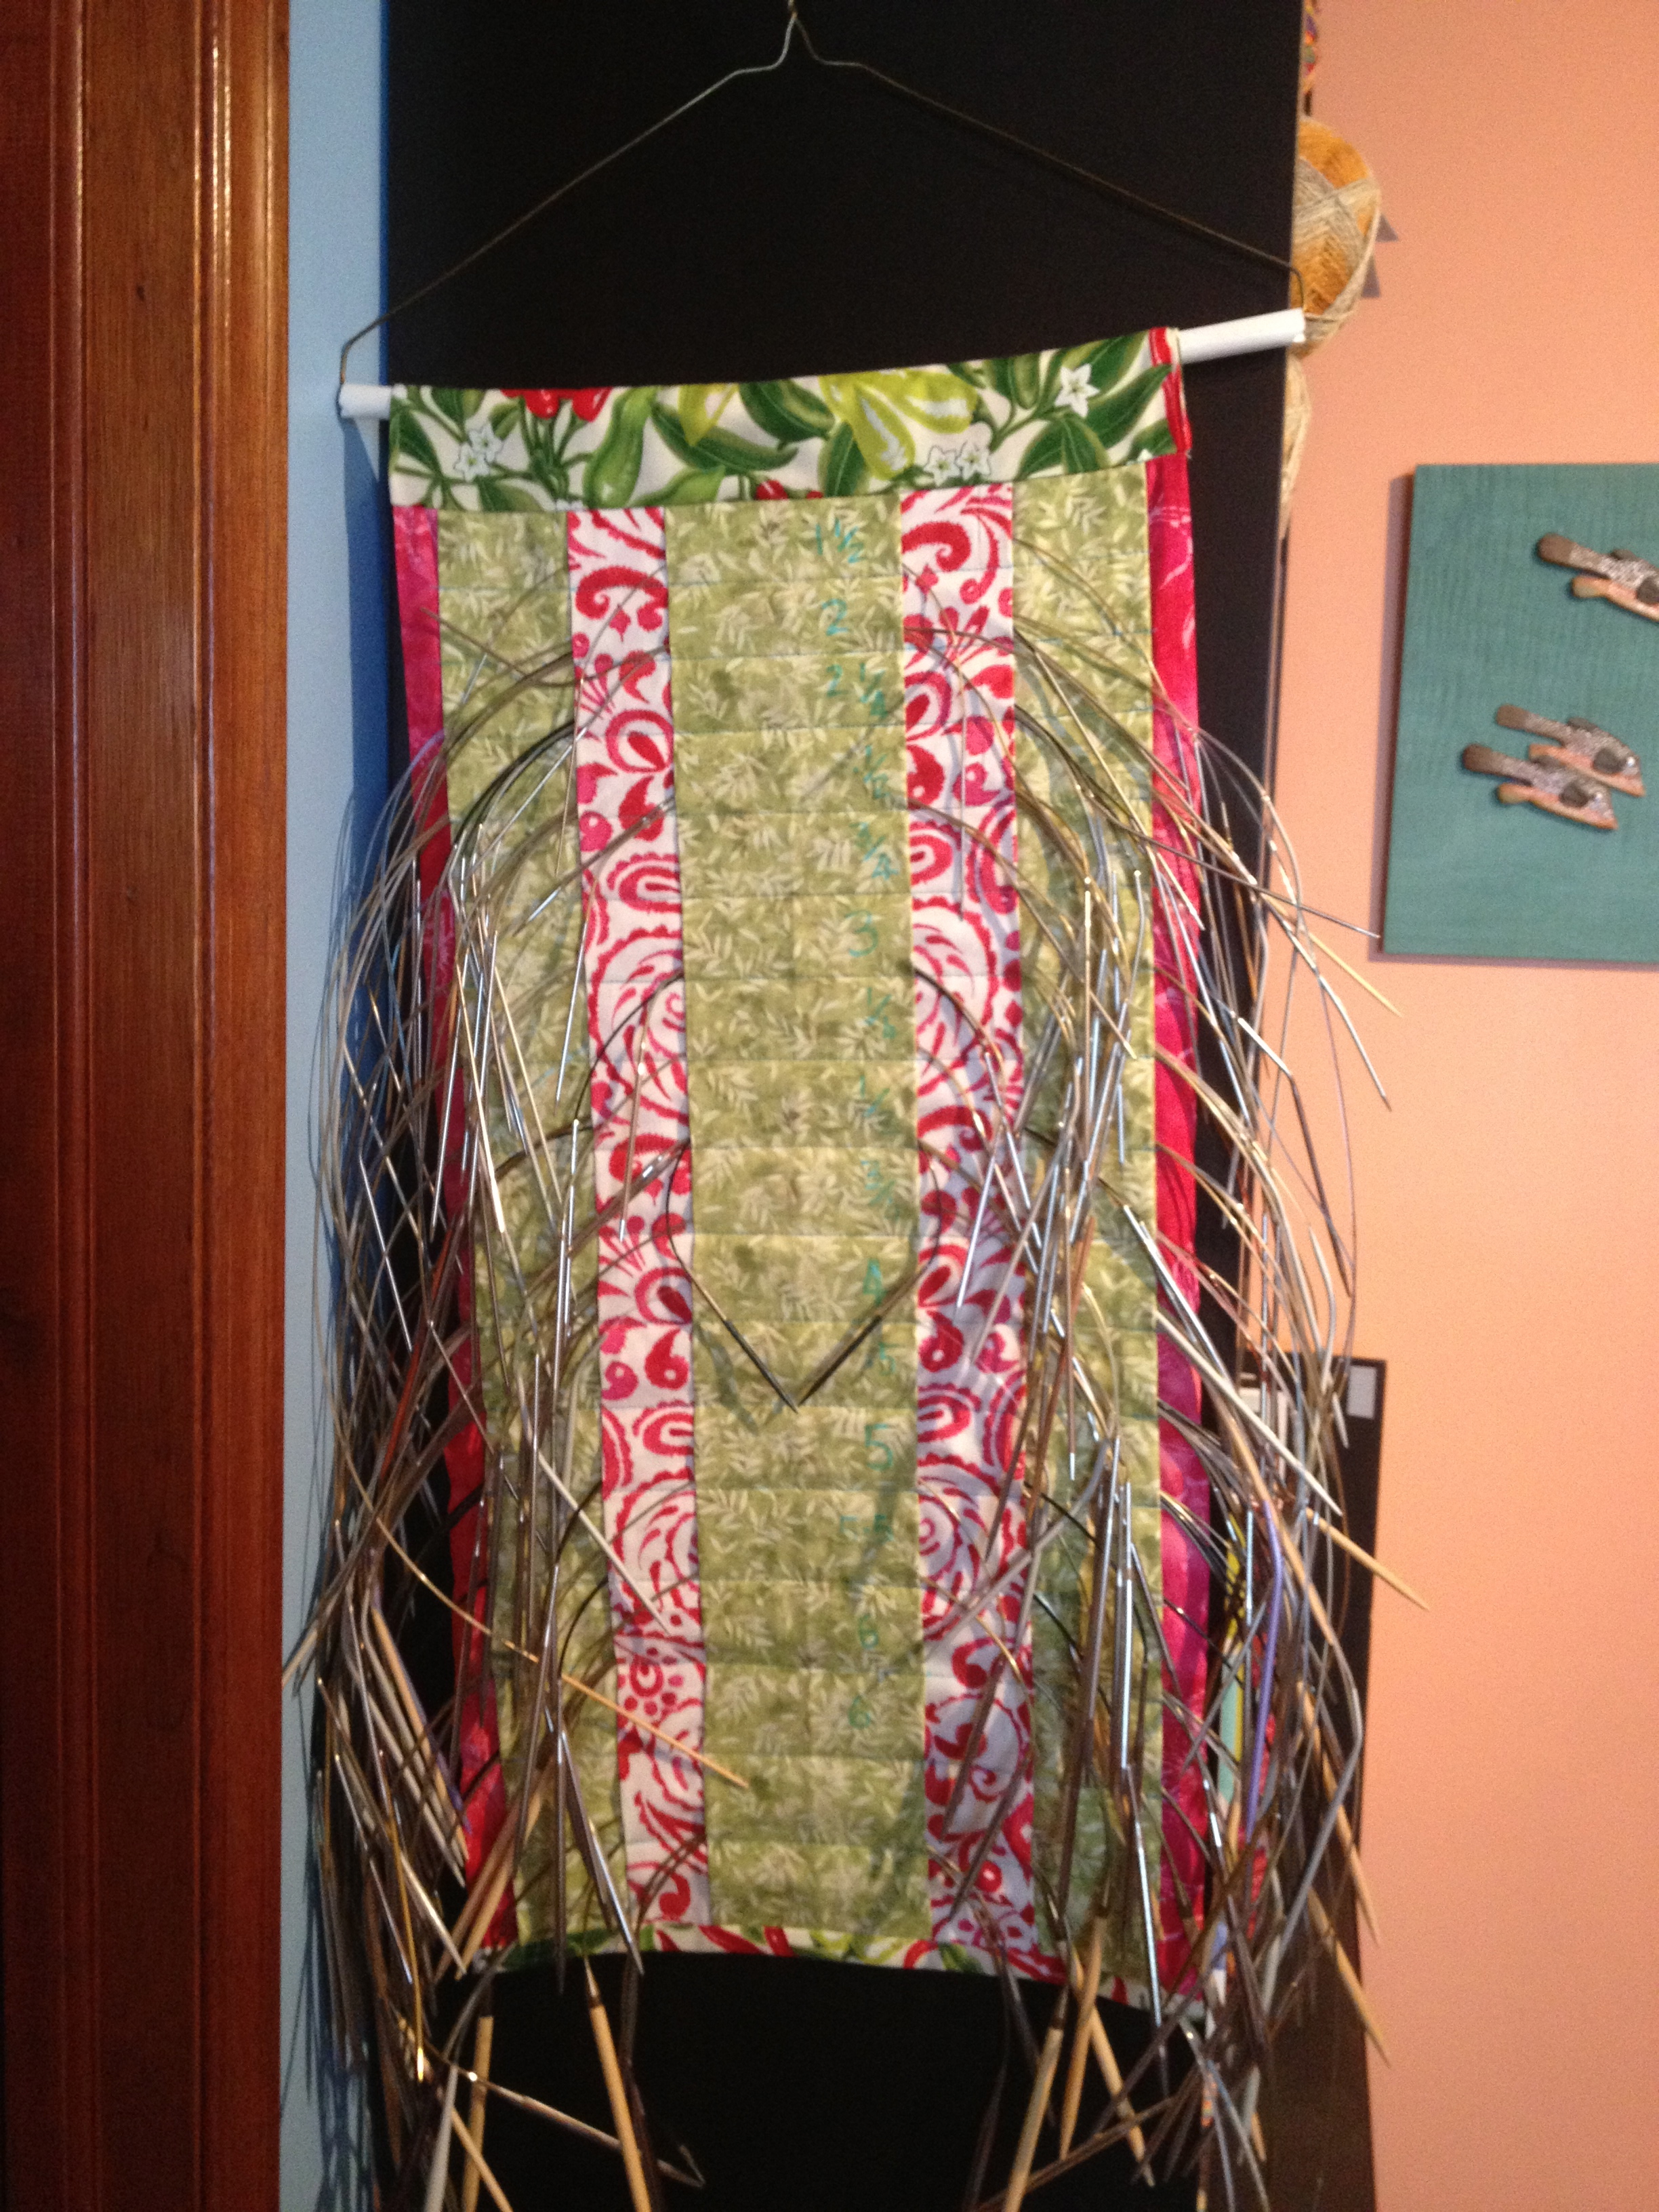
Finished Needle Case – with all my needles accommodated.
Would you like to store your circular needles in something other than a heap? Make your own needle tidy! Here is a basic outline of the construction of my new storage system for my regular circular needles, something very dear to me, as I have more than a few circulars! Please feel free to make your own.
The needles are hung uncoiled, so you don’t have to steam the flexes. What I am enjoying about this hanger is that I can easily see how many of each kind of needle I have, and in which different lengths. It is an easy project to construct.
All measurements given are entirely adjustable. Overall Dimensions 13” x 28”
Make an estimate of the number of needle sizes you own (or hope to own). If your collection is less than two years old, multiply by 10.
I have 17 slots, which began at 1 1/8” for the smaller sizes, gradually becoming larger further down. You should plan for 17 – 20 slots; that would cover most needs. Calculate the length of fabric you will need (27”).
Sew 4 tubes of fabric so that when flattened out they measure approximately 4”, 8”, 12”, 13” in width respectively. I used tubes of fabric rather than hemming the edges to avoid having seams to catch the needles on whilst you are threading them through the openings.
Stack the tubes on top of each other, with the narrowest on top. Adjust the positions of the seams in each tube so none of them stack on top of one another (for ease of sewing). Pay special attention to the arrangement of the fabric pattern on the top tube as this the one you will see most clearly.
Pin the layers securely. Sew the top and bottom edges with a small seam. Mark the pocket sewing lines with chalk or vanishing marker. Sew the needle slots making sure to double stitch at the beginning and end of each seam. A walking foot or a lot of pins helps to stop the fabrics from slipping.
Sew contrasting fabric on the upper and lower edges. Allow room for a hanging pocket at the top edge, if desired. If you want to hang the needle case from a coat hanger be sure to put the hanger through the upper binding before closing it!

Four different needle hangers, one for each length and one for the extra sizes!
When filling my needle slots, I marked the needle size on the pockets with a temporary marker so that I could shuffle things around once I truly knew what needle sizes I had!
Enjoy. Now that you know exactly what needles you have, you’ll probably need to invest in a few more!

Shows all the lengths you have in each size.

This is terrific. Thanks for sharing it.
I love the “multiply by 10” part.
I may have to make myself one of these. It looks like a big improvement on the commercial one that I have. …Perhaps with an attached DPN system on the back for all the sets that don’t fit in my pretty circle-shaped DPN holder. With the sizes embroidered on…
Plus a pocket for a needle gauge and a few wandering crochet hooks!
Did just that three months ago, with pockets on the bottom for gauges, rulers and measuring tapes. Best thing I ever made that was not knitted or crocheted. Must admit that yours looks better than mine.
This looks amazing Lucy but do you find it cumbersome to transport back and forth from Dartmouth to Tancook? Or do you have one on Tancook as well?
(I am thinking of my HFX to the cottage )
Just have interchangeable s out there.